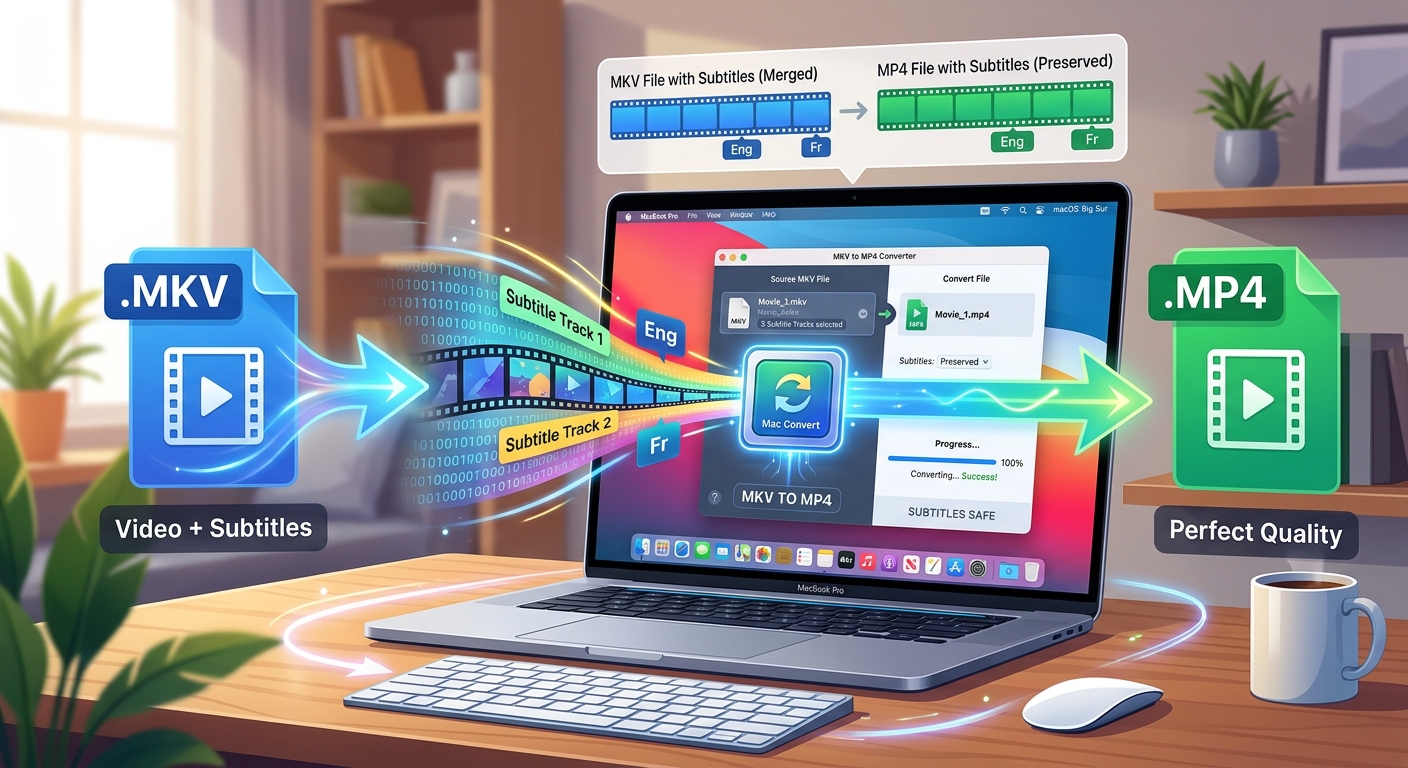
Your converted movie looks great. The sound works. Then someone speaks another language, and the subtitles are gone. This usually happens because the conversion kept the video and audio but left behind a subtitle track that needed different treatment. You can avoid that with a free Mac workflow and a short test before converting the whole file.
Keep Your Captions Attached
- Check the subtitle format before choosing your conversion settings.
- Use selectable text subtitles when supported, or burn captions into the picture.
- Test the finished MP4 in the apps you use on each Apple device.
Why an MP4 Can Lose Subtitles During Conversion
MKV and MP4 are containers. Think of each as a package holding separate video, audio, and subtitle tracks. Changing the package does not guarantee that every track inside it will transfer.
An MKV might contain plain text captions, carefully styled text, or subtitles stored as pictures. Those differences matter. A converter may translate a text track into an MP4-friendly format. A picture-based track needs another approach if you want dependable playback across Apple apps.
Renaming a file from .mkv to .mp4 does not perform that conversion. It changes the filename while leaving the contents untouched.
There are also two meanings of “without losing.” Keeping the words and timing is one goal. Keeping every font, placement choice, and animated effect is another. Choose which matters before starting.
Check What Your MKV Contains Before Converting
Start by opening the original MKV in VLC on your Mac. It is a free player that can help you inspect the available subtitle tracks. Open its subtitle menu, select a track, and play a scene with dialogue.
Confirm the language by reading it. Track labels can be incomplete or incorrect. A file might contain full English subtitles, English captions with sound descriptions, and a separate English track covering only foreign dialogue.
Use VLC’s media information window to inspect stream details where available. HandBrake’s subtitle track menu can also help identify the tracks after you open the file. Labels and codec names vary, but these are useful clues:
- SRT or SubRip: Text captions that can usually be converted into selectable MP4 subtitles.
- ASS or SSA: Styled text that may lose fonts, placement, or effects when converted.
- PGS or VobSub: Picture-based subtitles that need burning or text recognition for this workflow.
- No separate subtitle track: Visible captions may already be part of the video image.
Keep the original MKV. Save your MP4 under a different name so you can return to the source if a track is missing or the timing needs adjustment.
Choose How Your Subtitles Will Travel
Selectable subtitles let you turn captions off or change languages. Burned-in captions become part of the picture and remain visible. A separate SRT file keeps the text outside the video, which works only when your playback app can load it.
Subtitle Choices for an Apple-Friendly MP4
| Starting Subtitles | Useful Output Choice | Main Tradeoff |
|---|---|---|
| SRT text | Convert to an embedded MP4 text track | Appearance depends on the player |
| ASS or SSA text | Convert for selectable captions, or burn for styling | Text conversion can simplify formatting |
| PGS or VobSub pictures | Burn into the video, or use OCR to create text | OCR requires proofreading |
| Existing separate SRT | Import into the converter or load in a compatible player | An external file must travel with the video |
For a family video shared across several devices, burned-in captions are often convenient. For a film with multiple subtitle languages, selectable tracks offer more flexibility.
Convert the MKV for Free With HandBrake
HandBrake provides a free graphical workflow on Mac. Obtain it from its official website and open your MKV. Its interface can vary slightly between releases, but the process follows the same pattern.
- Open the source. Load the MKV and allow HandBrake to scan it. Confirm the selected title and duration match your video.
- Choose an appropriate preset. For ordinary SDR footage up to 1080p, a general 1080p preset is a useful starting point. Match the output to your source and intended devices. A 1080p preset reduces a 4K source’s resolution.
- Select MP4. In the summary settings, choose MP4 as the container. Save the result with a new filename.
- Check video and audio. H.264 video and AAC audio are a practical compatibility choice for many Apple devices. Confirm that the correct audio language is selected.
- Add the subtitle track. Open the Subtitles tab and use its track controls to add the language you checked earlier. Do not assume a preset selected it for you.
- Choose selectable or permanent captions. Leave Burn In unchecked for a supported selectable text track. Enable it when you need captions permanently visible or the source subtitle format requires burning.
- Check Default and Forced Only. Default requests automatic subtitle selection, though players may handle it differently. Leave Forced Only off when you want the full dialogue track.
- Encode a sample. Use a short time range containing dialogue. Check that sample before starting the complete conversion.
HandBrake re-encodes video. Even if the result looks excellent, this is not a mathematically lossless video workflow. Keeping subtitles intact and preserving the original video bit for bit are separate tasks.
If your converted video is already missing captions, you can add srt subtitles using a matching text file. Check that its dialogue timing matches your exact video version before importing it.
Use a Separate SRT When You Need Flexible Text
A separate SRT is handy when you want editable captions or use a player that supports external subtitle files. Give both files the same base name, for example holiday.mp4 and holiday.srt, and keep them in the same folder.
Matching names help compatible players find the text automatically. They do not make every Apple app load it. Test the app you intend to use, especially before sending both files to an iPhone or iPad.
If your MKV contains text subtitles but you lack a separate file, a subtitle extraction tool can save that track for editing. A free utility such as MKVToolNix can identify tracks, while its mkvextract component can extract them. This is a more technical route than importing an existing SRT into HandBrake.
Picture-based subtitles cannot become an SRT through a filename change. They need optical character recognition, usually called OCR. That process reads the subtitle images and produces text. Review punctuation, names, and unusual characters before using the result.
Burn Captions When Their Appearance Must Stay Consistent
Burning captions is useful for styled dialogue, signs placed within a scene, or videos intended for an app with uncertain subtitle support. In HandBrake, select the desired track and enable Burn In.
Only one subtitle track can be burned in during an encode. Choose it carefully. If you need separate English and Spanish versions with permanent captions, create separate outputs.
Burning also means the viewer cannot hide the captions. Making a clean version later requires the original source. Keep that MKV even after your MP4 passes its playback checks.
Fix Timing Problems Before the Full Export
A caption that appears two seconds late throughout the video usually needs a timing offset. Adjust the subtitle offset, then encode another short sample. Confirm the direction of the adjustment by watching the result.
Captions that start correctly but drift further out of sync need different attention. The subtitle file may match another edit or playback speed. A fixed offset cannot repair steadily growing drift. Find captions for the correct release or retime them in a subtitle editor.
Also check accented letters and non-Latin text. Use UTF-8 for an imported SRT when appropriate, and inspect the sample for broken characters. A successful export alone does not confirm readable captions.
Make Sure the Captions Arrive on Every Apple Screen
Check the MP4 on Your Mac
Open the finished file in QuickTime Player if that is where you plan to watch it. Look for available subtitle choices and select the intended language. Check dialogue near the beginning, middle, and end. For burned-in captions, confirm that text stays readable against both bright and dark scenes.
If selectable captions work in VLC but fail in your intended app, that points to a playback compatibility issue. Consider a different player or a burned-in version for that use.
Check the Same File on iPhone and iPad
Transfer the finished MP4 using your normal method, then open it in the actual app you will use. Each app can handle subtitle tracks differently. Find its caption controls and confirm that selectable subtitles appear.
On iPhone, check line wrapping and text size on the smaller screen. On iPad, test full-screen playback and confirm that captions stay within the visible picture. If you use an external SRT, verify that both files reached the device and load the subtitle file through the player’s controls.
Your conversion is ready when the dialogue remains readable, synchronized, and available where you watch. Keep the source until those checks pass. That small habit makes a missing caption a fixable setting rather than a lost track.